
Last updated November 17, 2026
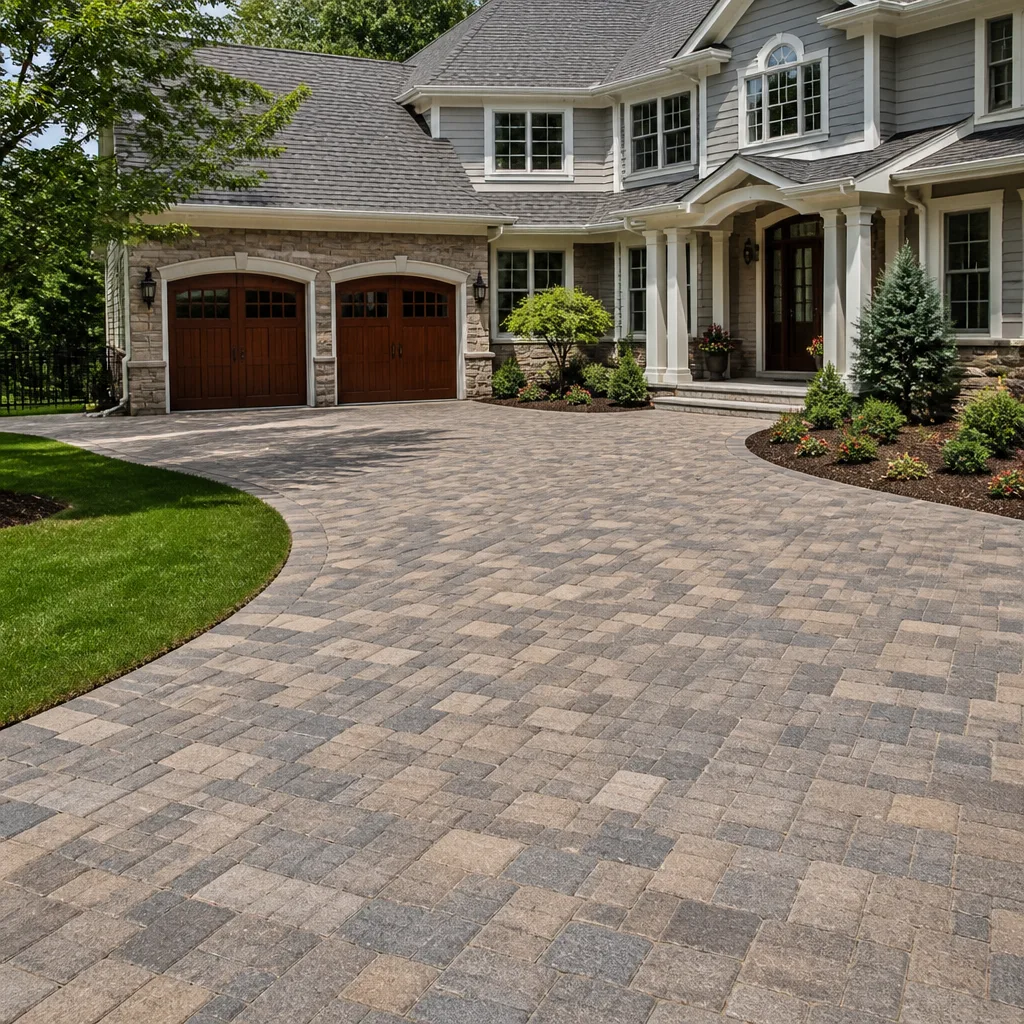 Driveway & pavers
 Kitchen remodeling
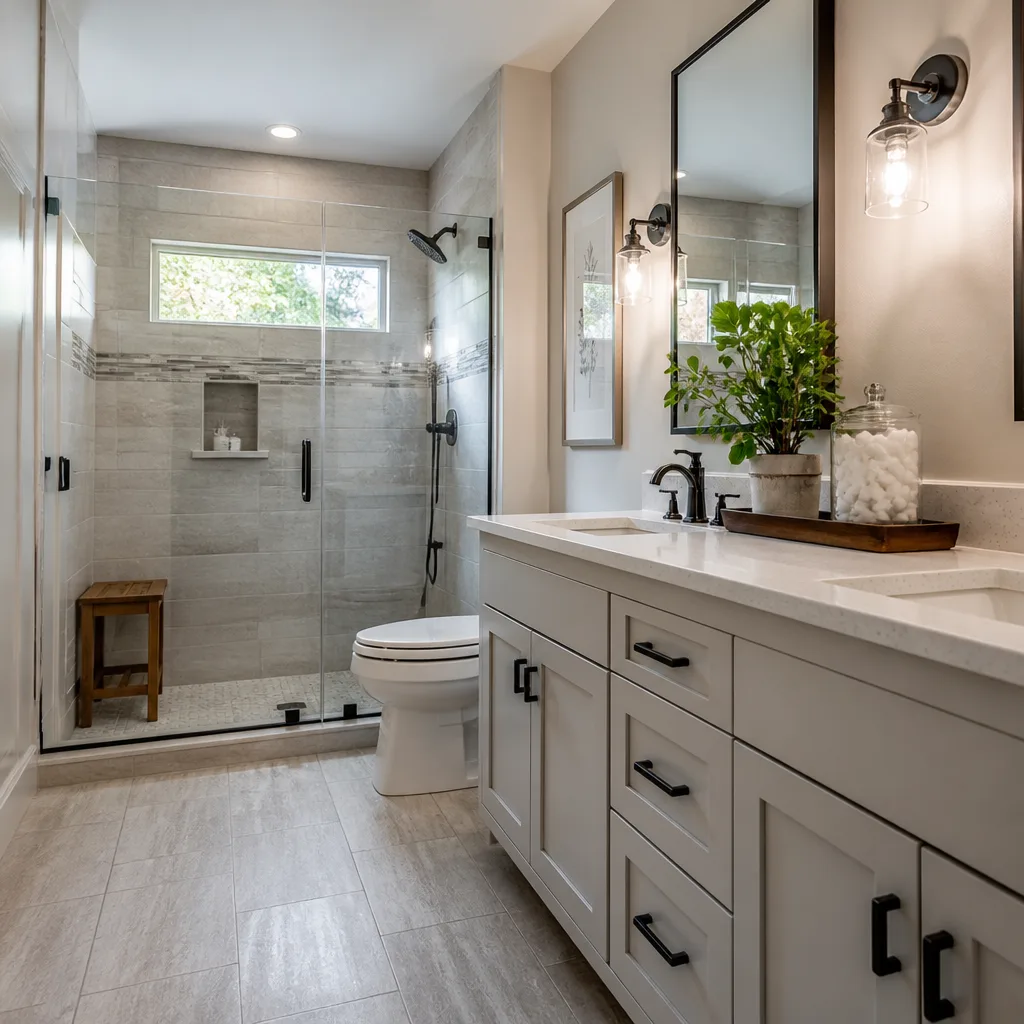 Bathroom remodeling
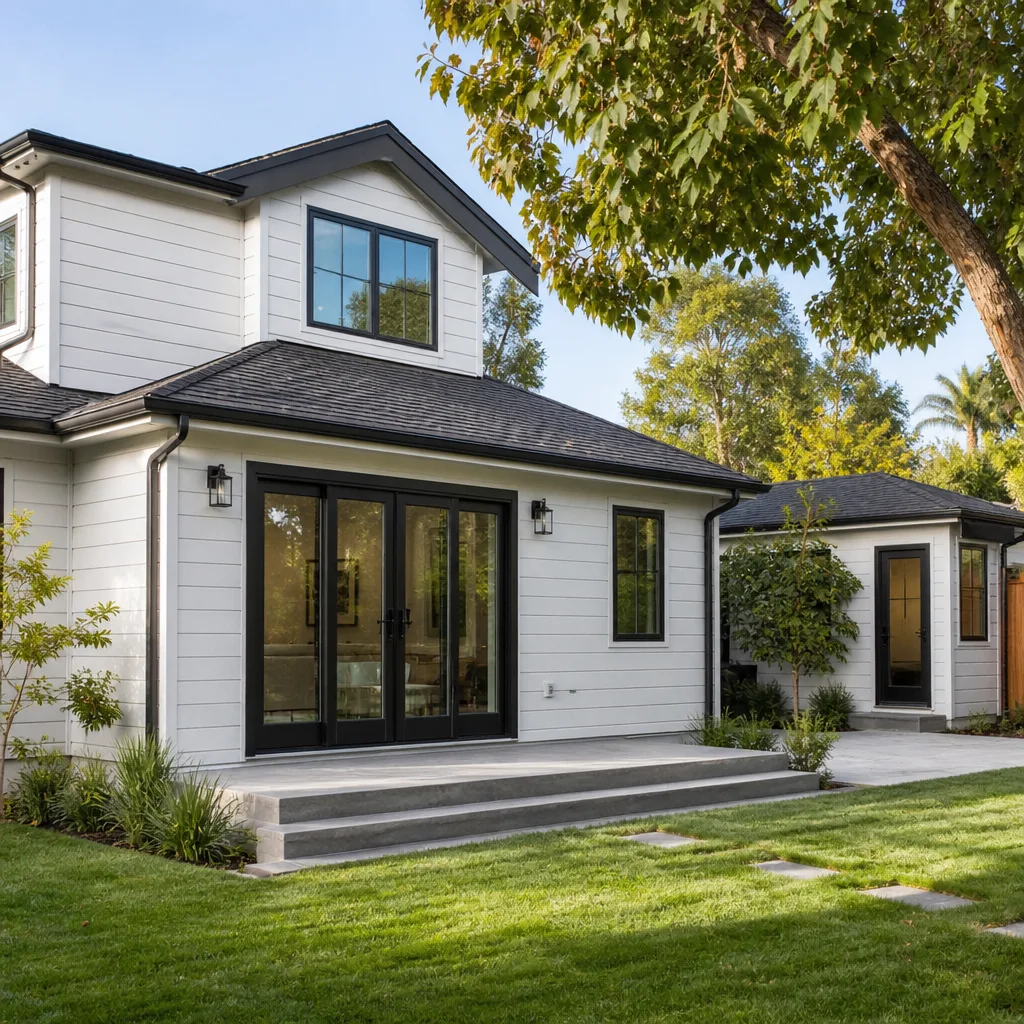 Home additions & ADU
 Roofing
 Windows & doors
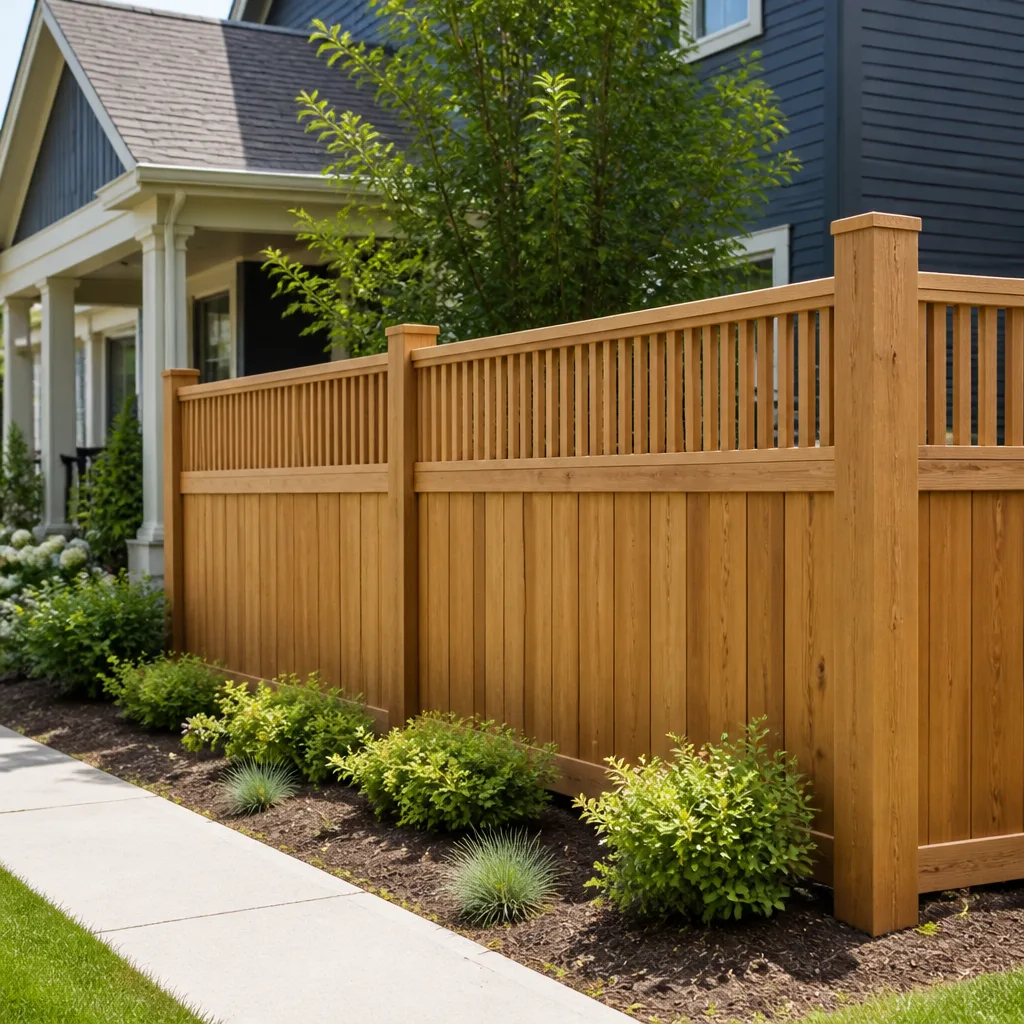 Fence
Free written scope consultation - allowances, timeline, and change-order rules on paper before a single trade is scheduled
Driveway & Pavers Maintenance Checklist for Summerlin Homeowners
A concrete paver sealed with a film-forming acrylic in Summerlin’s summer heat will bubble and delaminate within 18 months – yet that’s the product most big-box stores push hardest because the margins are better. The sealer isn’t the problem. The schedule is. Manufacturer labels are written for cooler climates with mild UV, and the northwest Las Vegas valley doesn’t play by those rules. Between the sun load, caliche soil that pushes base layers around, and monsoon runoff that finds every open joint, pavers here age on a different clock. This guide walks through the inspection and maintenance calendar we use on Summerlin driveways: re-sealing intervals that fit a Zone 10 UV environment, how to spot base failure before it costs you a replacement, joint sand timing for monsoon season, and where DIY spot repair makes sense versus where it turns a small fix into a big one.
Quick Answer
In Summerlin, concrete pavers need re-sealing every 2-3 years with a breathable, non-film-forming sealer rather than the 5-year intervals printed on most product labels, because UV exposure here breaks down acrylic films much faster. Joint sand should be topped off before monsoon season (roughly June) and again after it, and any rocking paver should be investigated for caliche-driven base failure immediately rather than re-sanded over.
Styles & brands we work with
- Kitchen remodeling
- Bathroom remodeling
- Home additions & ADU
- Roofing
- Windows & doors
- Driveway & pavers
- Fence
Table of Contents
- Why Summerlin Pavers Age Faster Than the Label Says
- The Re-Sealing Schedule That Actually Fits Summerlin
- Spotting Caliche-Driven Base Failure Before It Spreads
- Joint Sand and Monsoon Prep: When and What to Add
- Post-Wind Inspection Sequence: Edge, Drainage, Surface
- DIY Spot Repair vs. Calling a Contractor
- Your 12-Month Driveway & Paver Maintenance Calendar
- Choosing Paver and Sealer Materials That Hold Up Here
Why Summerlin Pavers Age Faster Than the Label Says
Summerlin sits in a high-desert basin with a UV index that stays elevated through most of the year. Concrete pavers from Belgard, Unilock, Techo-Bloc, Tremron, Cambridge, and Oldcastle all share the same basic vulnerability: the pigment, the cement matrix, and the sealer film (if there is one) all degrade under prolonged sun exposure. The manufacturer’s “reapply every 5 years” guidance is written for a national average that includes regions with a fraction of this sun load.
Three forces combine here:
- UV degradation. Film-forming acrylics break down fastest. Once the film starts hazing or chalking, moisture gets underneath and lifting begins. In Summerlin heat, that can start around the 18-month mark.
- Caliche heave. The valley’s calcium-carbonate hardpan swells and shifts with moisture cycles, especially where irrigation lines run close to the driveway edge. When it pushes against the base aggregate, pavers rock.
- Monsoon washout. From roughly July through September, fast-moving storms dump a month’s worth of water in an hour and test every joint, edge restraint, and drainage channel at once.
A paver driveway isn’t a “set it and forget it” surface. It’s a system – base, bedding layer, pavers, joints, sealant – with four separate failure points that age on different timelines. Our team sees this pattern on driveway & pavers projects across the valley, and it shapes how we spec materials before the first paver goes down.
The Re-Sealing Schedule That Actually Fits Summerlin
Re-seal concrete pavers in Summerlin every 2-3 years with a breathable penetrating sealer, not a film-forming acrylic, and time the application to a window when the surface stays between roughly 60°F and 85°F for 24-48 hours. In practice, that means early spring or mid-to-late fall – not July.
Here’s why the interval matters so much here. Zone 10 UV exposure in the northwest Las Vegas valley attacks the sealer’s polymer chains directly. Even a high-grade penetrating sealer starts losing effectiveness in year two. By year three, the water beading test tells you it’s time: pour a cup of water on the surface and watch whether it beads and rolls or soaks in flat. Soaking means the surface is unprotected.
Which sealer to choose depends on the paver type:
- Concrete pavers (Belgard, Tremron, Oldcastle, Quikrete/Sakrete). A penetrating siloxane or siliconate sealer lets moisture vapor escape while blocking liquid absorption. Film-forming acrylics trap moisture and delaminate in this heat.
- Clay and natural stone (Techo-Bloc’s natural lines, Cambridge stone selections). A breathable penetrating sealer again, with a formula labeled for masonry and stone. Never apply a hard film over natural stone in this climate.
- Engineered porcelain or premium large-format. Follow the manufacturer’s sealer recommendation specifically; many engineered pavers don’t need sealing at all.
The critical mistake is trusting a “one coat, five years” product label. In Summerlin, treat every re-sealing interval as roughly half of what the label promises, then verify with the water-beading test each spring.
Choosing the right application window
Sealer bonds poorly to hot surfaces, and it flashes off too fast in direct mid-day sun. Application is best on a morning when the pavement has cooled overnight and the forecast holds dry for 48 hours. Late September through October is our preferred window: temperatures are dropping, the sun is softening, and there’s a break before the fall wind pattern sets in.
Spotting Caliche-Driven Base Failure Before It Spreads
Most paver “rocking” in Summerlin isn’t a paver problem, it’s a base problem. When pavers rock against each other or sound hollow underfoot, the bedding layer or base aggregate has likely shifted because the caliche underlayer heaved or settled unevenly. Sanding over the joints hides the symptom for a few months, but the failure returns worse the next season.
Here’s the diagnostic sequence:
- Walk the whole surface barefoot or in thin-soled shoes. Pay attention to temperature swings in the pavers – a rocking paver absorbs and reflects heat differently, so it will feel slightly different underfoot.
- Tap each suspect paver with a rubber mallet. A hollow or drummy sound means the bedding is loose or the base is voided underneath.
- Check the joints around the suspect area. If the sand has washed out in one localized spot while joints elsewhere are full, that’s a water path problem, not just sun exposure.
- Look at the driveway edge and any nearby irrigation heads. Caliche heave is often triggered by irrigation leaks or overwatering at planters adjacent to the driveway. Fix the water source first, or the repair will fail again.
- Check the slope and drainage pattern. If water now ponds where it used to run off, the base has moved. That’s a base repair, not a sand repair.
If one to three pavers are affected and the base under them is intact, a technician can lift, re-bed, and reset them – a small job. If five to ten are affected in a cluster, the repair will grow because the base under the whole cluster has moved. And if the rocking cluster spreads more than a square of a few pavers wide, base failure is systemic and a full re-installation of that section is the only repair that will hold.
That’s the fork between a manageable repair and a full driveway re-do. Catching it early is the whole point of a seasonal inspection.
Joint Sand and Monsoon Prep: When and What to Add
Topping off joint sand before and after Summerlin’s monsoon season is the single highest-value maintenance task on a paver driveway, and the right product matters more than homeowners realize. Standard mason sand washes out under flash-flood volume. Polymeric sand – specifically one rated for heavy water exposure and freeze-thaw resistance – locks joints against runoff and won’t migrate the way plain sand does.
Here’s the schedule that works in this valley:
- Late May or early June: Full inspection of joints. Top off any joint that has dropped below about a quarter inch from the surface with polymeric sand. This is your pre-monsoon line of defense.
- After any significant monsoon storm: Walk the drive and check for washed-out joints, especially on the low side and near the apron at the street. Spot-top with the same polymeric sand formulation.
- Late September: Full re-check of joints after the season, plus a look at edge restraint and drainage channels. If a lot of sand has moved, do a full top-off before winter.
The reason polymeric sand is worth the extra cost here comes down to water velocity. Monsoon rain sheets off Summerlin’s hardpan soil and hits driveways with force that plain sand can’t survive. Polymeric sand cures into a semi-flexible joint that rejects that water and keeps the pavers interlocked. Manufacturer labels vary in tolerance, but look for products labeled for high-flow runoff and rapid-drainage situations, not a general-purpose bag.
If your joints are already washing out yearly despite topping off, the drainage design may be undersized for the volume of water the driveway catches. That’s a design question, not a sand question, and it’s the kind of thing worth having evaluated before eleven months of losses turn into a repair. Our technicians have up to 14 years of experience reading that pattern around homes here.
Post-Wind Inspection Sequence: Edge, Drainage, Surface
After a strong wind event – a spring dust storm, a fall dry-wind front, or the outflow from a monsoon build-up – inspect a Summerlin paver driveway in this order: edge restraint first, then drainage channels, then surface discoloration. The order matters because each layer can fail in ways that only show at the next layer down.
1. Edge restraint integrity
Wind-driven sand and grit work into the paver-to-restraint joint over time. If the aluminum or concrete edge restraint at the driveway perimeter has loosened, the entire field of pavers can shift and the failure starts with a single paver rotating out of line. Check for gaps at the boundary, movement under hand pressure, and visible daylight between paver edge and restraint. Any gap is a repair trigger.
2. Drainage channel and apron clearance
Blowing dust and sand collect in low spots, drainage channels, and the apron transitions at street level. Clogged channels force water to sheet across the driveway surface and find weak joints. Sweep or blow out channels after any wind event, then confirm the channels still slope toward the outflow. A pile of sand in a low spot is a future water problem.
3. Surface discoloration from blowing alkaline soil
Alkaline dust from the surrounding desert and unmulched native landscaped areas lands on the driveway and, when combined with even a small amount of morning moisture, starts etching into penetrative sealer. What looks like a light film or a powdery haze is the sealer failing at the surface. Sweep the entire surface within a day of a wind event, and hit any visible powdery spots with a pH-neutral paver cleaner rather than an acid wash (which strips sealer and degrades the binding matrix of concrete pavers).
If the surface haze returns quickly after cleaning, the sealer is going. That’s a re-seal signal, not a cleaning problem.
DIY Spot Repair vs. Calling a Contractor
The question we hear most is where the DIY boundary sits. The honest answer comes down to one thing: whether the base under the affected pavers is intact. If it is, most repairs are within reach of a homeowner with a rubber mallet, a shop vac, a fresh bag of polymeric sand, and some patience. If it isn’t, DIY makes the problem bigger.
Reasonable DIY maintenance tasks
- Sweeping and blowing off dust and debris after wind events.
- Water-beading testing each spring to check sealer life.
- Spot-top polymeric sand in low joints after a monsoon storm.
- Pulling one or two visibly loose pavers in a small, localized area, cleaning out the bedding and joint sand, and re-bedding them on a fresh setting bed.
- Cleaning surface haze with a pH-neutral cleaner labeled for concrete pavers.
Tasks that belong with a contractor
- Any cluster of three or more rocking pavers. Once base failure starts spreading, the repair becomes a re-installation.
- Full re-sealing of a driveway. Coverage, temperature, and product selection all matter, and a poorly applied sealer in this climate accelerates the next failure.
- Replacing damaged edge restraint.
- Any repair that touches the drainage design, channel slope, or apron transition.
- Any repair where you can’t determine the base condition. Confirming that is the diagnostic half of the work.
Here’s how a small repair becomes a big replacement: a homeowner pulls a rocking paver, re-beds it in mason sand, and calls it done. It looks fine for three months. Next spring, three pavers around it are rocking. The pattern continues because the base failure under them never got addressed. Each cycle, the repair zone grows until the whole section has to come up. Our team has seen that pattern enough to know the spot-fix is only a fix when the base is solid underneath. Diagnosing the base is the step that saves the money.
For repairs that touch edge restraint, sealer selection, or expanding base failure, this is contractor work. Call (844) 797-3059 for a free estimate. We answer 24/7. Fast dispatch from 7am to 7pm, Sunday through Friday.
Your 12-Month Driveway & Paver Maintenance Calendar
A paver driveway in Summerlin wants attention on roughly this schedule. The exact timing shifts with each year’s weather, but this is the shape of it:
- February or early March: Full inspection. Walk the surface, tap suspect pavers with a mallet, confirm joints, look at drainage channels, and run the water-beading test on the sealer. Flag anything needing repair before spring.
- March through April: Repair window. Do any re-sealing, edge restraint repair, or re-bedding work. This is the best weather for sealer curing and paver work.
- Late May or early June: Pre-monsoon joint sand top-off. Polymeric sand throughout, with extra attention to low-side joints and the apron transition.
- July through September: Monsoon watch. After any heavy storm, walk the drive and check joints, channel clearance, and edge restraint. Spot-top sand as needed.
- Late September or October: Post-monsoon inspection and second sealer bead test. Full joint re-check. If sealer needs a refresh, this is the ideal window before winter.
- After any significant wind event (any month): The three-step wind inspection: edge restraint, drainage channels, surface discoloration. Sweep any alkaline dust within a day.
- November through January: Light maintenance. Sweep, spot-clean, confirm drainage. This valley doesn’t see freeze damage the way colder regions do, but nighttime lows do stress sealer films.
The whole calendar isn’t heavy. Most years, total homeowner time is an hour or two of inspection plus one or two hours of sand top-off work, spread across the year. Skipping a February inspection and a June sand top-off is where things start to compound.
Choosing Paver and Sealer Materials That Hold Up Here
If you’re planning a new paver driveway or a full replacement rather than maintenance, material selection is where the long-term cost difference gets decided. The wrong paver-surfaced with the wrong sealer and laid over a base that wasn’t designed for caliche – won’t give you ten years no matter how carefully you maintain it.
We source from seven paver manufacturers – Belgard, Unilock, Techo-Bloc, Tremron, Cambridge, Oldcastle, and Quikrete/Sakrete – because each brings a different profile to a Summerlin driveway:
- Belgard offers strong color retention across its engineered concrete lines, which matters under heavy UV load.
- Unilock and Techo-Bloc bring premium engineered options with strong dimensional stability, useful on driveways with heavier vehicle traffic.
- Tremron and Oldcastle hit solid mid-range price points with reliable performance.
- Cambridge brings natural stone selections for homeowners wanting that look.
On the base side, the right aggregate gradation and compaction depth is what prevents caliche heave from reaching the pavers. That’s laid down, not maintained. And when it comes to the sealer, the material choice is specific to this climate: a breathable penetrating product, applied at the right surface temperature, in the right season.
Material selection also drives the surrounding project. A paver driveway rarely stands alone – it meets the front entry, the garage apron, sometimes the same hardscape project that includes the front walk or a fence line. Coordinating materials across those surfaces is what the fence installation and driveway scopes have in common when they’re planned together rather than sequenced piece by piece. And for homeowners adding a garage conversion, casita, or home additions & ADU, the driveway often gets widened or re-routed as part of the same work – best planned as one project so the base prep is done once, correctly.
Common Mistakes to Avoid
- Trusting the “5-year sealer” label in a Zone 10 UV environment. Summerlin’s sun load ages film-forming sealers roughly twice as fast as the national average the label is written for. Re-sealing every 2-3 years with a penetrating product is the schedule that holds here.
- Sanding over rocking pavers instead of investigating them. A rocking paver is usually a base problem, not a joint problem. Fresh sand buys a few months and hides the failure while it spreads.
- Using standard mason sand in joint lines. Monsoon water moves it out within a season or two. Polymeric sand rated for high-flow runoff holds the joints together.
- Acid-washing concrete pavers to remove haze. Acid strips the sealer and starts degrading the cement matrix in the paver itself, which is a permanent loss of surface integrity. Use pH-neutral cleaners.
- Sealing in July or during a direct-sun, high-temperature window. The sealer flashes off before it can penetrate, and the film starts failing in the first season. Application windows are spring and fall, morning hours.
- Ignoring wind events because the driveway “looks fine.” Edge restraint loosening and drainage channel clogging aren’t visible from a quick glance. The three-step inspection catches them before they cost a repair.
- Watering the planters right at the paver edge without checking for leaks. Irrigation drips and overspray at a planting bed next to the driveway are a common caliche heave trigger. Check the water source first, or the next repair will fail the same way.
See the difference
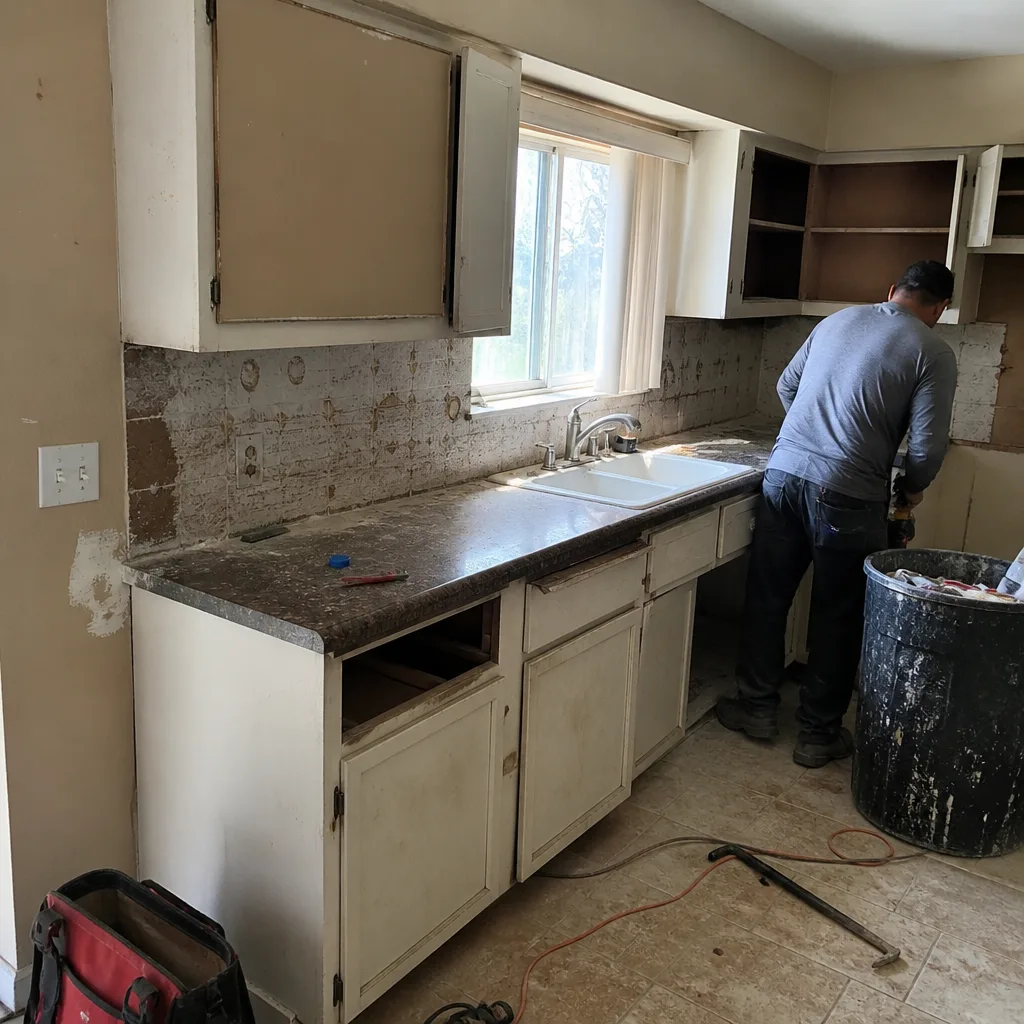 Before
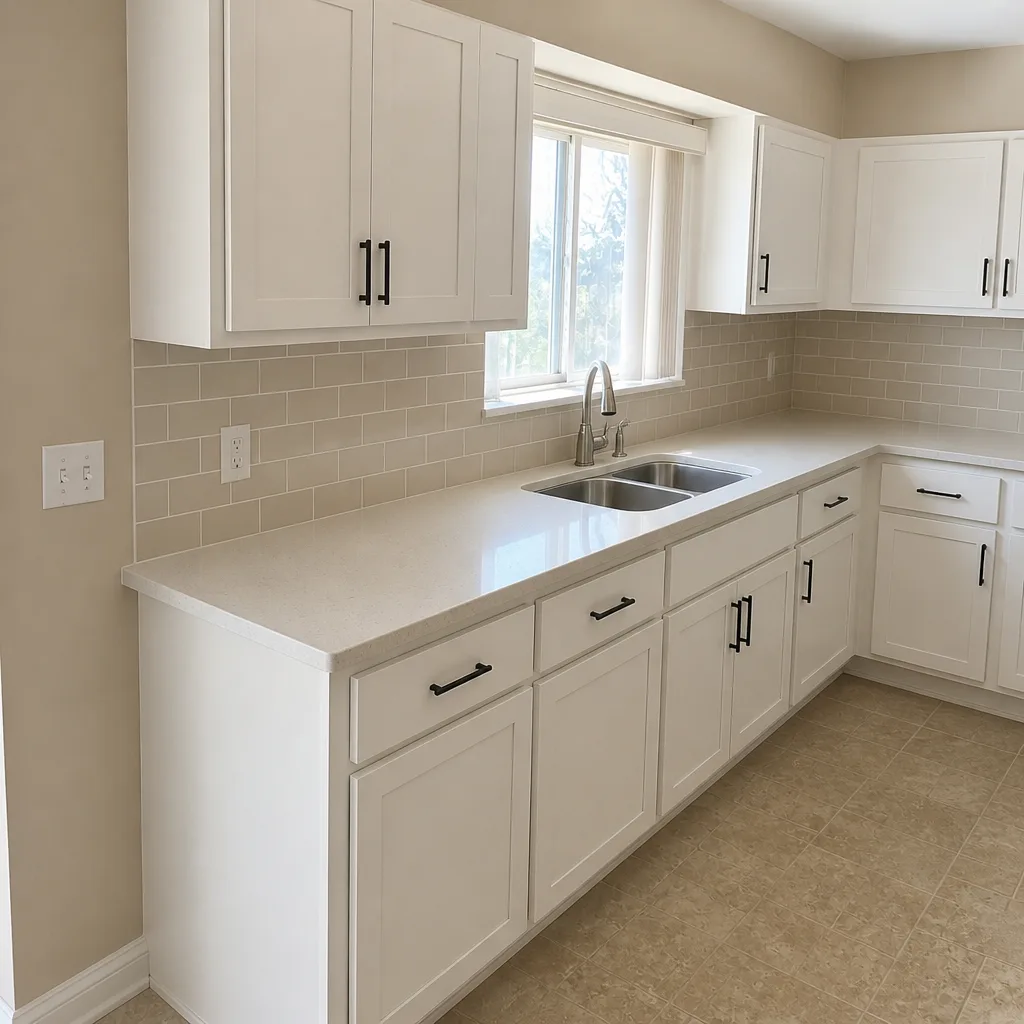 After
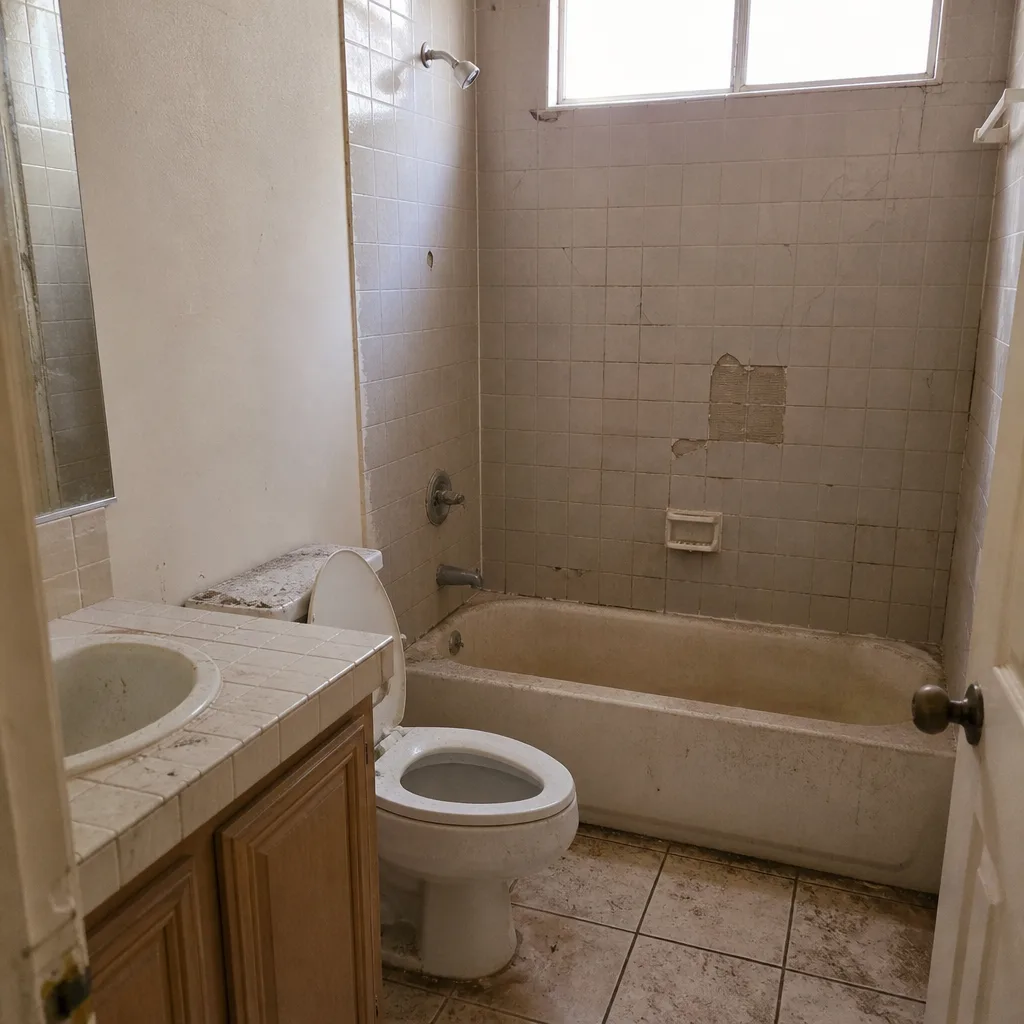 Before
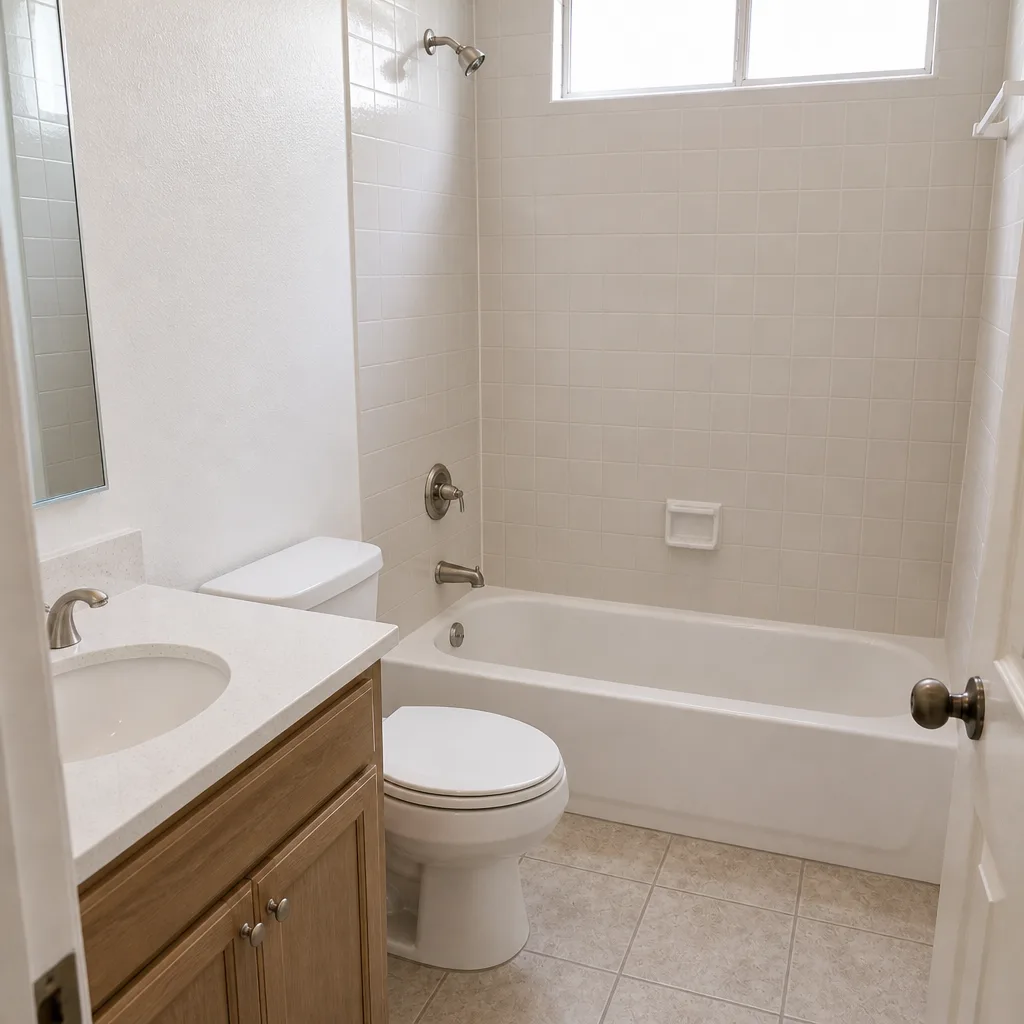 After
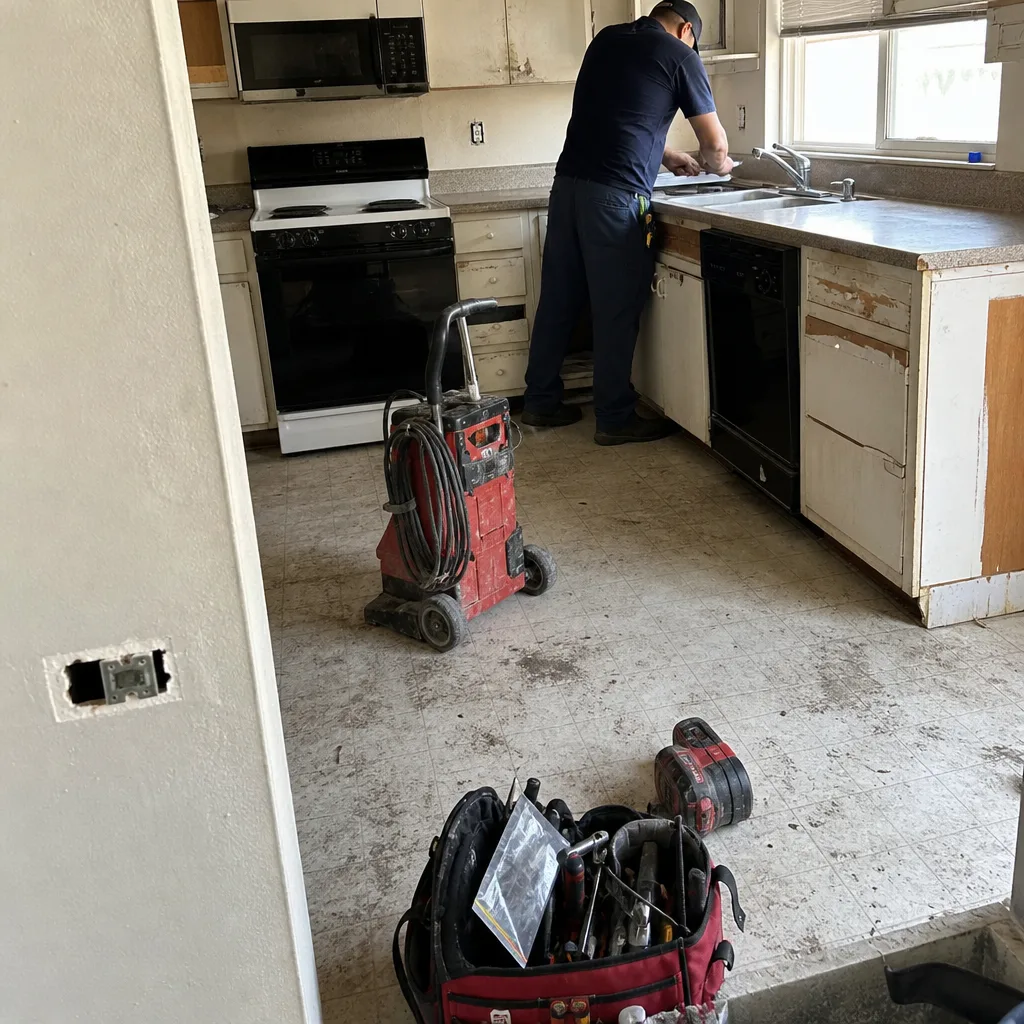 Before
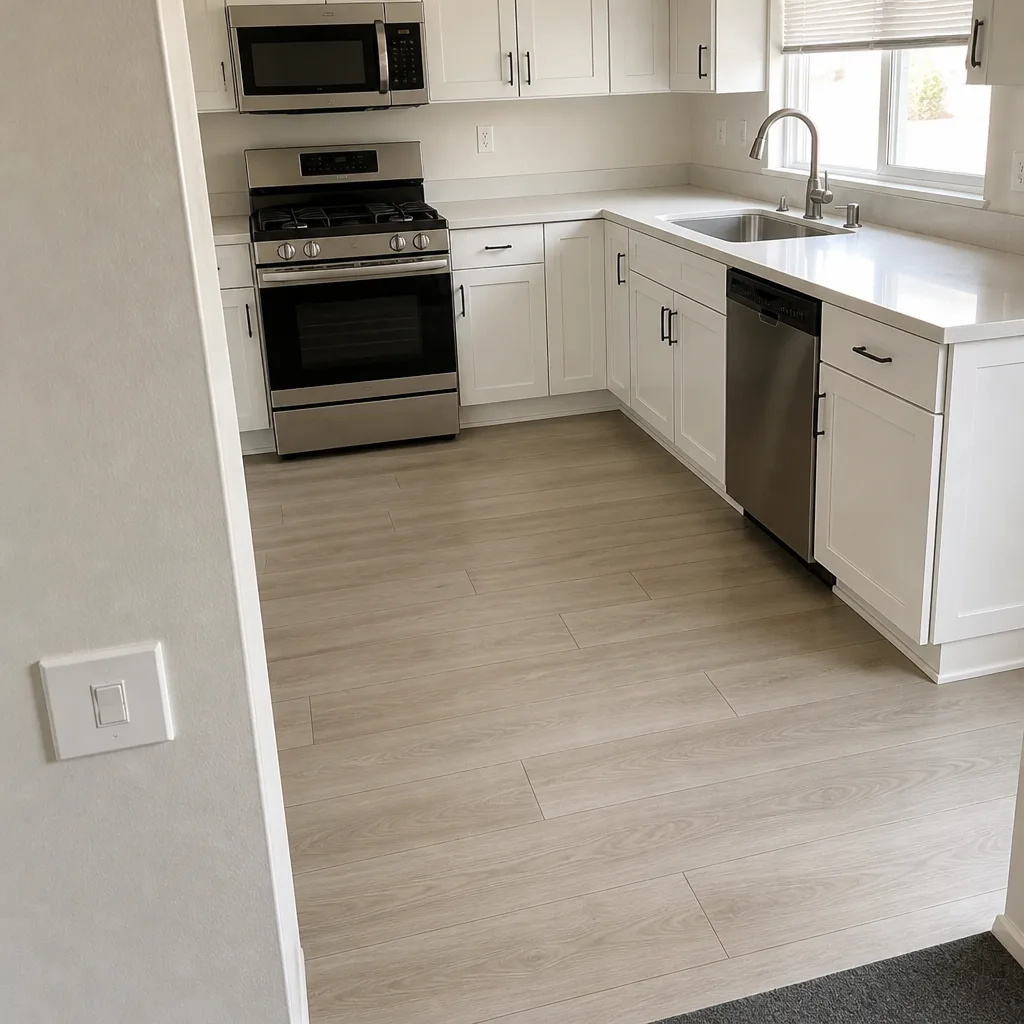 After
When to Call a Professional
Some driveway repair tasks are within DIY reach; others aren’t. Call a professional when a cluster of three or more pavers is rocking, when a full re-seal is due, when edge restraint has failed, when drainage has shifted, or when you’re not sure whether the base is still sound. Those scenarios all go through base evaluation, and the evaluation is what keeps a small repair from turning into a full replacement. Sealer application is also better handled by a contractor in this climate – the coverage, temperature, and product choice all affect how long the next coat lasts. There’s also the case where the driveway needs a design change, not a repair: joints washing out every monsoon despite topping off means drainage needs to be re-thought, not patched. Our team handles each of these with a written, line-item estimate, and we work with homeowners across the valley on maintenance, repairs, and full replacements. Construction Summerlin offers free estimates in Summerlin – call (844) 797-3059.
Frequently Asked Questions
Every 2-3 years with a breathable penetrating sealer, which is roughly twice the frequency you’d expect from the manufacturer’s label. The label is written for a cooler climate with lower UV exposure, and Summerlin’s Zone 10 UV load breaks down sealer roughly twice as fast. Confirm the interval with the water-beading test each spring – if water soaks in rather than beading, the sealer is done. Call (844) 797-3059 for an exact quote on re-sealing. Estimates are free.
Rocking pavers are almost always a base-failure symptom rather than a paver-surface problem, and in Summerlin the cause is usually caliche heave or a moisture source near the driveway edge. It becomes serious fast because base failure spreads – three pavers rocking this season can be eight next season if the base isn’t stabilized. Get it diagnosed before the repair zone grows. Call (844) 797-3059 for an evaluation, and the estimate is free.
Polymeric sand rated for high-flow runoff and rapid drainage handles monsoon conditions better than standard mason sand. Monsoon water sheets off Summerlin’s hardpan soil with real velocity, and plain mason sand moves out within a season or two. Top off joints before the season (roughly June) and re-check after. Call (844) 797-3059 if the joints are washing out every year despite topping off, because that’s often a drainage design issue.
You can, but it’s the maintenance task most likely to go wrong in this climate, and the risks are product choice, application temperature, and coverage rate. A film-forming acrylic applied in mid-day summer heat can start failing within a season. A penetrating sealer applied at the correct surface temperature and rate in spring or fall lasts the full 2-3 years. If you want the re-sealing done right the first time, call (844) 797-3059 for a free estimate.
A hollow or drummy sound under a rubber mallet tap, movement when you step on the paver edge, and a cluster of rocking pavers sharing a boundary all point to base failure rather than surface wear. The reliable diagnostic is pulling one suspect paver and looking at the bedding under it – if the bedding is loose or voided, the base has moved and needs repair, not just re-bedding. Our technicians have up to 14 years of experience with this diagnosis. Call (844) 797-3059 for a free estimate.
Not with a written, line-item estimate that covers the full scope. We diagnose the base before quoting, so the estimate reflects what’s actually there, not a guess that turns into a change order. If we find something during work that changes the scope, we stop and explain before we continue – no surprise add-ons. Call (844) 797-3059 for a free estimate, and we’ll walk you through what we find.
The Bottom Line
Summerlin paver driveways age on a shorter clock than manufacturer labels suggest, and the difference comes down to three things: re-sealing every 2-3 years with a penetrating sealer rather than a film-forming acrylic, topping off joints with polymeric sand before and after monsoon season, and catching base failure at the rocking-paver stage rather than the cluster stage. Add wind-event inspections to the calendar and stick to a spring-and-fall maintenance window, and a paver driveway will hold up for the long haul. If a repair has moved past your DIY boundary, that’s the point to call. “One contractor, every phase” is how we approach any driveway, and it starts with a free estimate – call (844) 797-3059. We answer 24/7. Fast dispatch from 7am to 7pm, Sunday through Friday.
Whether the next project is a paver refresh or a full scope that spans the envelope, our team at Construction Summerlin can walk the property, spec the materials, and put a written line-item estimate in your hands. Estimates are free.
Written by the team at Construction Summerlin.