
Last updated November 17, 2026
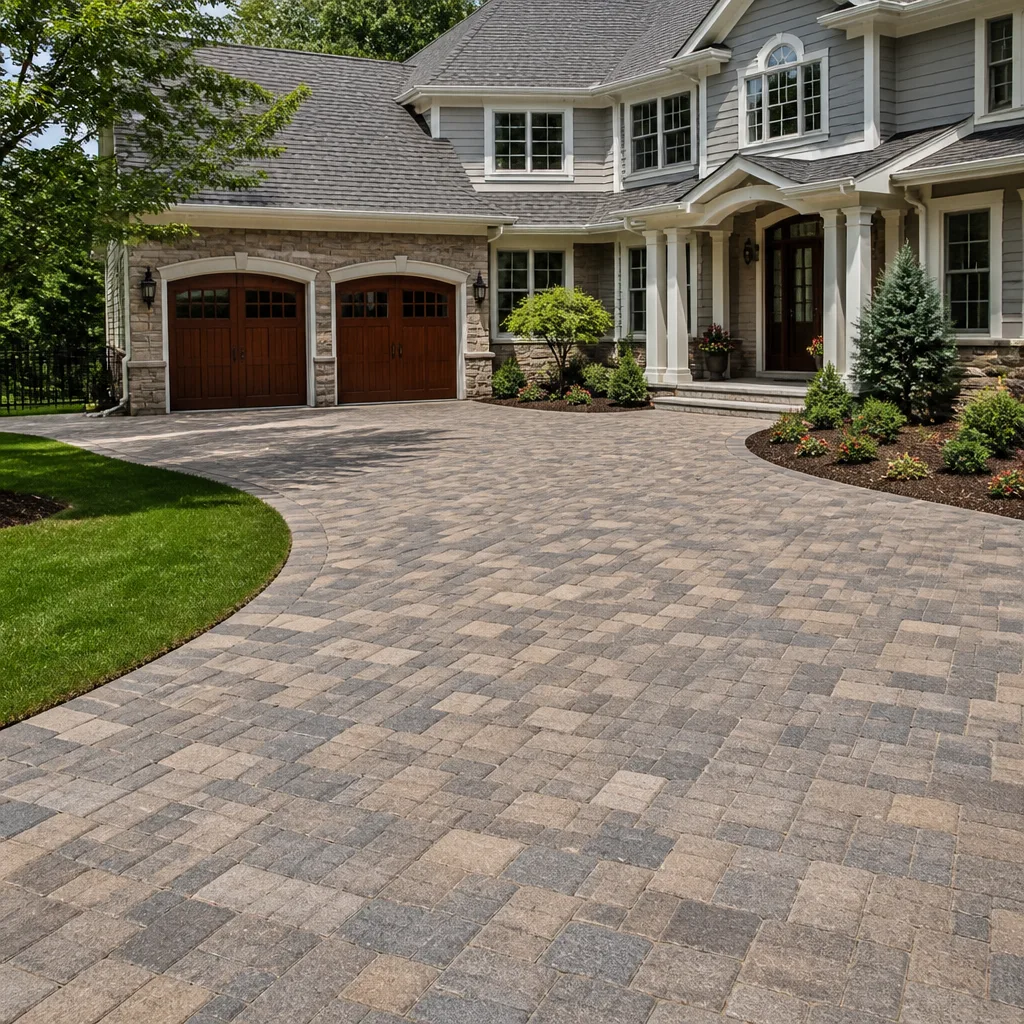 Driveway & pavers
 Kitchen remodeling
 Bathroom remodeling
 Home additions & ADU
 Roofing
 Windows & doors
 Fence
Free written scope consultation - allowances, timeline, and change-order rules on paper before a single trade is scheduled
Driveway & Pavers Troubleshooting in Summerlin: Common Problems and How to Fix Them
If your pavers are rocking, sinking, or separating within the first few years, the paver brand is almost certainly not the problem. A contractor who skipped a compaction step or used the wrong base aggregate is. That’s the uncomfortable truth about most hardscape failures we’re called out to look at in Summerlin. The stone gets blamed because it’s the part you can see. The real culprit is usually buried six inches down, out of sight and out of mind. This guide teaches you to read the symptoms properly: how to tell settlement from base failure from a genuine product defect, why white staining keeps coming back on Summerlin pavers, and which fixes you can safely handle yourself. Mention Summerlin once here and the work starts.
Quick Answer
Most driveway paver problems in Summerlin trace back to installation and base preparation rather than the pavers themselves. A five-minute test with a straightedge and a garden hose will tell you whether you’re dealing with normal settlement, a failing sub-base, or a true product defect. Minor settlement and efflorescence can often be addressed without a full rebuild; rocking pavers, spreading edges, and repeating white bloom usually mean the base or the edge restraint needs correction, and that’s a contractor’s job.
Styles & brands we work with
- Kitchen remodeling
- Bathroom remodeling
- Home additions & ADU
- Roofing
- Windows & doors
- Driveway & pavers
- Fence
Table of Contents
- The Five-Minute Field Test: Settlement, Base Failure, or Defect?
- Why White Staining Keeps Coming Back on Summerlin Pavers
- Edge Restraint Failures in Desert Heat
- How Monsoon Sheet-Flow Undermines Your Sub-Base
- Joint Sand Loss, Weeds, and Ant Tunnels
- Cracks, Heaving, and What They’re Telling You
- Which Repairs Are DIY and Which Void Your Warranty
- What Paver Repair Typically Costs in Summerlin
The Five-Minute Field Test: Settlement, Base Failure, or Defect?
You can diagnose most paver problems with two tools you already own: a straightedge and a garden hose. Before you call anyone, run this test. It separates the three failure types, and each one has a different fix and a different price tag.
- Lay a straightedge across the suspect area. A 4-foot level or a straight piece of lumber works. If you can slide a coin under the middle but not under the ends, you have a depression. That’s settlement until proven otherwise.
- Step on each paver near the corner. A paver that rocks underfoot while its neighbors stay put is a base-failure signal. Individual rocking means the bedding sand beneath that unit has migrated or was never properly set.
- Watch the joint lines. Straight, even joints that have simply dropped together suggest uniform settlement. Joints that wander, widen in one spot, and pinch in another point to lateral movement, which usually comes from a failed edge restraint or a soft spot in the base.
- Run water over the area with a hose on low flow. Water should sheet off in the direction the driveway was graded. If it pools in the depression or runs toward the garage instead of the street, the grading has flattened out. Ponding water is the beginning of every other problem on this list.
- Lift one paver at the edge, where it’s easy to reinstall. You should see a bed of sand over a compacted aggregate base. If you find loose dirt, construction debris, or a base that crumbles in your hand, the base was never built correctly.
The 5-minute field test is your most useful diagnostic tool in Summerlin’s climate because the symptoms are subtle at first. Desert temperature swings move the ground more than most homeowners expect, so a small depression in year one becomes a rocking section by year three if nothing is done. What the test gives you is a way to describe the problem accurately when you do call a contractor. “My pavers look bad” gets you a vague answer. “My pavers rock individually and the joints are wandering toward the street” gets you a real diagnosis.
If you’d rather have someone walk the driveway with you, our driveway & pavers service covers exactly this kind of inspection and repair, and the estimate is free.
Why White Staining Keeps Coming Back on Summerlin Pavers
Efflorescence is the chalky white bloom you see on concrete and clay pavers, and it’s a moisture problem, not a dirt problem. Water gets into the paver, dissolves salts naturally present in the concrete or the base, and carries them to the surface as it evaporates. The salt stays behind as a white crust. In Summerlin, two things make this worse than in most places: hard water from the tap and irrigation lines, and the fact that pavers installed over a damp or improperly drained base hold moisture far longer than they should.
Here’s the part most sealer advice gets wrong. Sealing a paver with residual moisture trapped inside doesn’t stop efflorescence, it locks the moisture in and the bloom comes back under the sealer film. That’s why some driveways look fine for one season after sealing and then go white again the next summer.
- Efflorescence that appears once and fades is usually normal curing moisture working its way out. It often resolves on its own within a season, especially on a well-drained driveway.
- Efflorescence that returns every year in the same pattern signals a moisture source: poor drainage, a base that stays damp, or irrigation overspray hitting the pavers regularly.
- Breathable penetrating sealers are the right family for a damp-prone driveway because they line the pores without forming a film, letting vapor escape.
- Film-forming topical sealers should only go on a driveway that is confirmed dry and correctly graded, and they need a moisture test first.
- Irrigation overspray onto the driveway is one of the most common and most fixable causes. Aim the heads, and the bloom often stops.
Before you seal anything, confirm the driveway is dry by taping a square of plastic to a paver for a day. If condensation forms under the plastic, the paver is still holding moisture and sealing will trap it. In Summerlin, the dry months give you a window to test properly, and the monsoon season is the wrong time to seal a driveway that’s been getting rain.
Edge Restraint Failures in Desert Heat
Edge restraint is the invisible border that keeps your driveway field from spreading outward. In most installations, a plastic or aluminum edge is spiked into the ground along the perimeter and the pavers press against it. Desert heat is hard on this system. Pavers expand measurably in direct sun, the field pushes outward against the edge, and plastic spikes that were driven into a sandy base gradually work loose. Once the edge lets go, a section of the driveway spreads, joints widen, and pavers start rocking near the border.
What good edge restraint looks like in Summerlin:
- Steel spikes on a tight spacing, not just a few at the corners. Plastic spikes pull out of desert soil over a few hot seasons. Steel holds far better.
- Edge restraint set on compacted base, not on finished grade. If the edge is pinned into uncompacted soil, it migrates within a season.
- Concrete curb or a properly anchored aluminum edge along the street side of the driveway, where vehicle weight and heat both push hardest.
- Visible gaps between the edge and the pavers are a warning sign. The pavers should be pressed tight against the restraint at all times.
Border spreading is one of the most common problems we see in Summerlin driveways, and it’s also one of the most fixable. Re-setting the edge with correct spike spacing and re-pulling the affected course of pavers restores the driveway without a full rebuild. Trying to force a spread edge back with sand or by tamping the pavers only buys a few months. The edge has to hold, or the whole pattern moves again. If the driveway connects to a yard boundary, the same principle applies to fence installation: edges and posts need to be set into compacted ground, not just pushed into loose desert soil.
How Monsoon Sheet-Flow Undermines Your Sub-Base
Summerlin sits below the Spring Mountains, and the summer monsoon sends short, intense rain across the valley. A driveway that sheds water well during a light drizzle can behave completely differently when a half inch of rain lands in twenty minutes. Water runs off the surrounding slope, crosses the drive as sheet flow, hits the edge, and dives under it if the grade lets it. That sheet flow washes out the fine aggregate in the sub-base. Once the fines are gone, the base loses its interlock and the pavers above it sink and rock.
The grading corrections that prevent recurrence are the same ones that should have been in the original installation:
- Set a slight cross-slope toward a defined drainage path so water leaves the driveway in one direction instead of spreading across it.
- Keep the driveway surface slightly above the surrounding landscape so runoff runs off the pavers, not onto them.
- Capture water at the low corner with a channel drain, a dry creek bed, or a graded swale. A low spot with no outlet is a puddle waiting for the next storm.
- Compact the base in lifts and recompact it before reinstalling any paver section that a monsoon has disturbed. New sand over an undermined base just hides the problem.
If you’ve had a section of driveway drop after a heavy storm, don’t just pour sand into the dip. That’s a patch, not a repair. The right fix lifts the affected pavers, replaces the lost base material, recompacts, and corrects the grade so the same water doesn’t return to the same low spot. It’s also worth checking whether water is coming from a neighbor’s slope or a poorly placed downspout, since fixing the paver field without fixing the water source rarely holds.
Joint Sand Loss, Weeds, and Ant Tunnels
Joint sand is what locks pavers together sideways. Without it, the pavers still support weight individually, but the field loses the interlock that makes a paver driveway strong. In Summerlin’s dry heat, joint sand dries out, shrinks, and blows away faster than in humid climates. Wind, foot traffic, and irrigation wash carry it off. Within a season, joints that started tight can look deep enough to lose a pencil in.
When the sand goes, weeds and ants move in. Neither is a cosmetic problem. Ant colonies tunnel through the bedding sand, expanding the voids under the pavers. Weeds lift the joints and hold moisture. Together they accelerate the same settlement that starts with base failure.
- Re-sand with a graded joint sand sized for the joint width, and compact it into the joints before topping off. Dumping sand on top gives you a few weeks of coverage, not a repair.
- Use a polymeric joint sand in areas that see irrigation overspray or runoff, since it holds up better against water than plain sand.
- Treat ant colonies at the source before re-sanding. Sand packed into an active colony will be tunneling again within days.
- Check after every monsoon season for lost sand, and refill the joints while the driveway is dry. Small upkeep now prevents a rocking section later.
Keeping the joints full is the piece of paver maintenance that most homeowners skip, and it’s the cheapest thing on this list. A driveway in Summerlin that gets re-sanded once it starts showing deep joints will outlast one that doesn’t by a wide margin.
Cracks, Heaving, and What They’re Telling You
Pavers don’t crack the way concrete slabs do, but they can chip at the corners and they can heave. Both are signals worth reading before you spend anything on repair. A chipped corner on a handful of pavers near the street is usually vehicle wear or a dropped load. A field of chipped paver edges scattered across the driveway is a base problem, because the pavers are moving against each other as the base fails.
Heaving is the opposite of settlement: a section pushes up instead of dropping. In Summerlin, heaving usually comes from one of three sources:
- Tree roots lifting the base from underneath. Desert-adapted trees push hard, and a tree within a few feet of a driveway eventually moves the pavers.
- Water freezing in a shallow base during a cold snap. Rare in the valley, but it happens at elevation, and it means the base is too thin.
- A concrete edge or utility structure pushing against the field as the pavers expand in summer heat.
If a section is lifting, don’t hammer it down. That cracks pavers and drives the heave deeper. The fix involves lifting the affected field, finding the source, correcting the base or the obstruction, and reinstalling the pavers with the correct joint spacing. That level of correction is beyond what most homeowners want to attempt, and it’s often the point where the driveway needs a proper rebuild.
Which Repairs Are DIY and Which Void Your Warranty
There’s a clear line between maintenance you can handle and repair that should go to a professional. Crossing that line on a driveway that’s still under a contractor workmanship warranty can void the coverage. Here’s how to draw it.
Legitimate DIY work
- Re-sanding joints with fresh joint sand is routine upkeep and doesn’t affect most warranties.
- Pulling weeds by hand and treating ant colonies at the source are both simple and safe.
- Adjusting irrigation heads to stop overspray on the pavers is a five-minute fix that prevents efflorescence.
- Cleaning efflorescence with a manufacturer-approved cleaner on a dry day, without sealing, is usually safe.
Work that should go to a contractor
- Re-pulling a course of pavers to correct a spread edge or replace a base section. Once you disturb the field, the pattern and the interlock have to be rebuilt correctly.
- Replacing edge restraint or spikes. Wrong spike spacing or the wrong edge profile re-breaks the border within a season.
- Correcting grade or adding drainage to stop sheet-flow erosion.
- Sealing the driveway. Sealing is where most DIY paver projects go wrong, because the moisture test is easy to skip.
Warranty protection is the practical reason to keep the heavy work with a contractor, but safety and durability are the bigger reasons. A paver field is a system: base, bedding, pavers, edge, joints. Disturbing one part without correcting the others usually means the same problem comes back. Our technicians have up to 14 years of experience reading these systems, and they know which fixes hold and which need a section pulled and rebuilt.
What Paver Repair Typically Costs in Summerlin
Repair costs in Summerlin run from small patch work to full section rebuilds, and the range depends on what the field test finds. The table below gives typical estimates for the categories of work we’re describing. These are estimates, not final prices: the written estimate you get after an on-site assessment sets the number.
| Repair type | Typical estimated range |
|---|---|
| Re-sanding joints (whole driveway) | $300 – $900 |
| Efflorescence cleaning and moisture test | $200 – $500 |
| Re-setting edge restraint along one side | $600 – $1,500 |
| Pulling and rebuilding a small settled section | $800 – $2,500 |
| Grade correction with drainage added | $1,200 – $3,500 |
| Full driveway rebuild with new base | $9,000 – $22,000 |
The difference between the top and bottom of this list is almost always the base. A driveway that gets re-sanded and has its edge reset stays repairable for years. A driveway with a failed base is a rebuild, and no amount of surface patching changes that. If you’re comparing quotes, ask each contractor to describe what they’ll do to the base, not just the pavers. The contractors who talk about compaction, aggregate type, and grading are the ones whose work tends to last.
Material choice affects the number too. A rebuild done with Belgard or Techo-Bloc pavers carries a different price than one done with a basic concrete paver, and the right choice depends on where the driveway sits and how much wear it takes. We source from seven paver manufacturers, so the selection gets driven by your driveway and your budget rather than what’s convenient to order.
Common Mistakes to Avoid
- Blaming the paver manufacturer for a base failure. Pavers are the strongest part of the assembly. If the driveway is rocking or settling, look at the base and edge before the material, because the fix is almost always below the surface.
- Sealing a damp driveway to “lock in” the appearance. In Summerlin’s dry months the temptation is understandable, but sealing over residual moisture traps it and the efflorescence returns under the film. Test the paver first.
- Patching a low spot with sand. Sand poured into a depression hides the problem and works its way out again within a season. The base beneath the dip has to be corrected.
- Ignoring a spreading edge. A border that’s starting to move will take the whole field with it. Re-setting the edge early is a small repair; waiting is a section rebuild.
- Not checking the grade after a monsoon. Sheet-flow erosion opens up under the edge, and the dip that appears in the fall started with the storm in the summer. Check the low spots after every rainy stretch.
- Letting joint sand run low through the summer. Dry heat pulls joint sand out faster here than in most climates. A driveway re-sanded when joints start showing depth avoids the weeds, ants, and rocking that follow.
- Hiring on price alone. A paver driveway is a base, a bedding layer, a field, and an edge. A quote that doesn’t explain all four is a quote for the paver you can see, and that’s the least of your problems.
See the difference
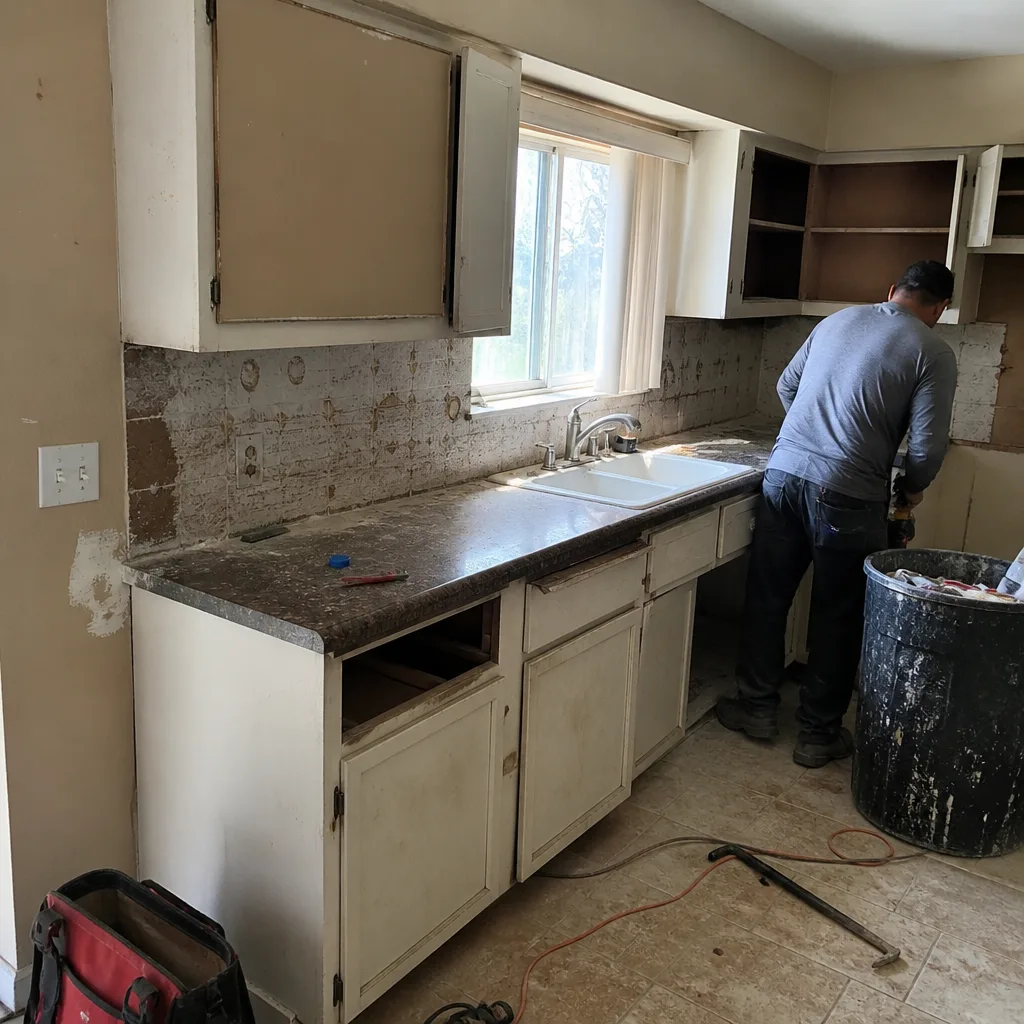 Before
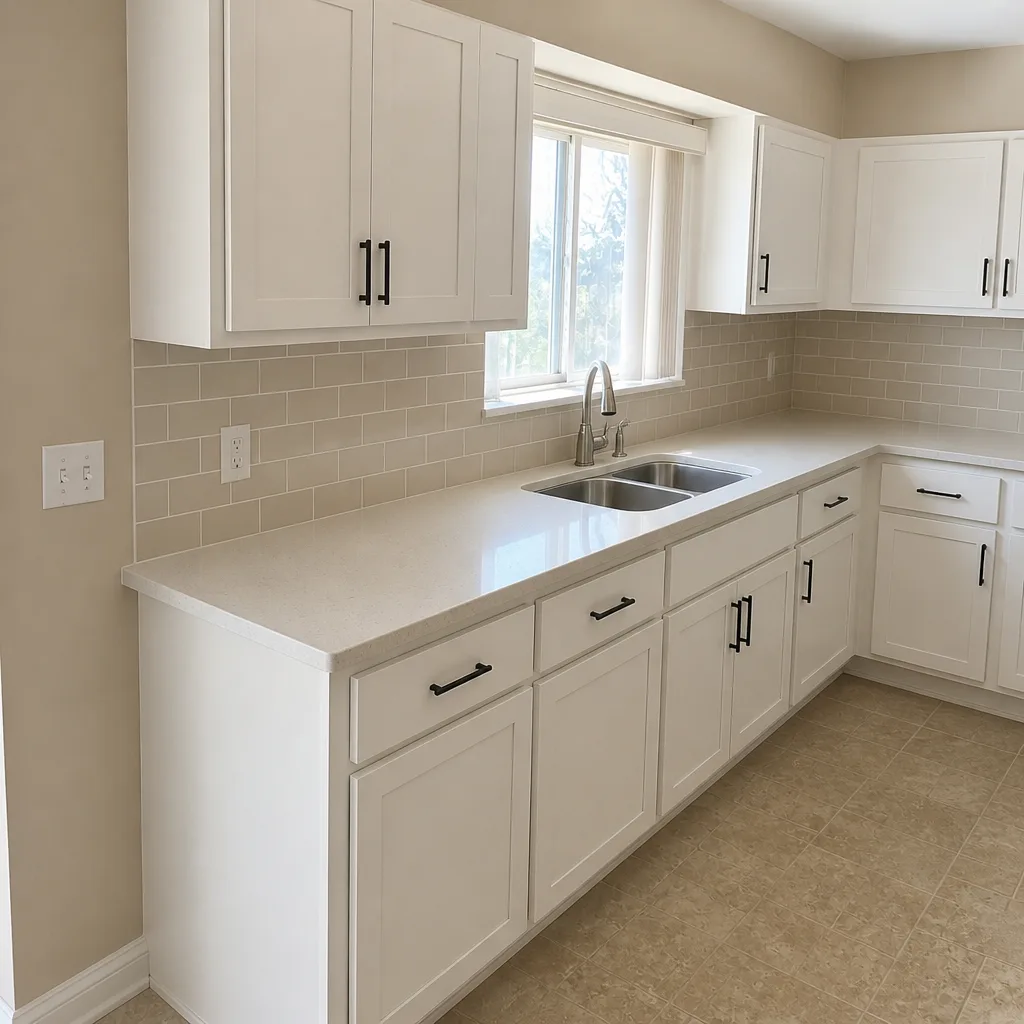 After
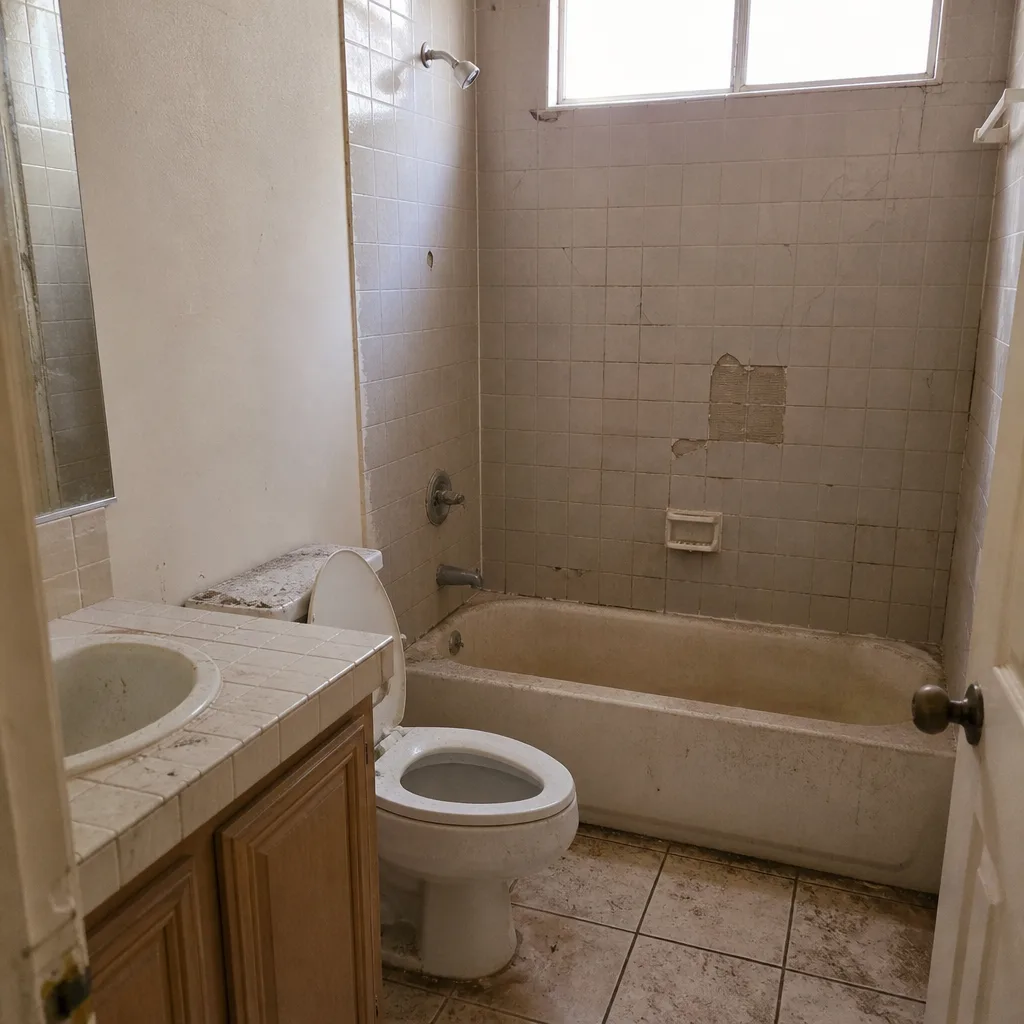 Before
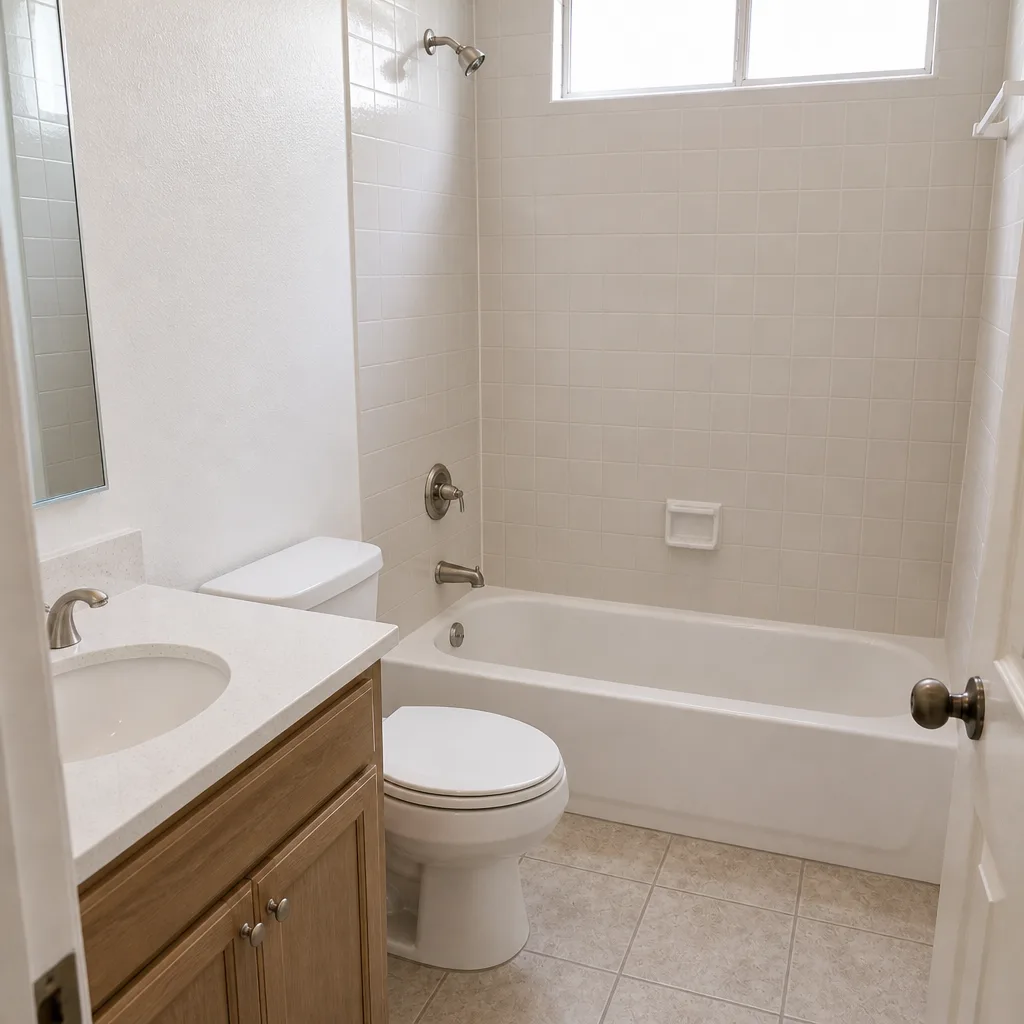 After
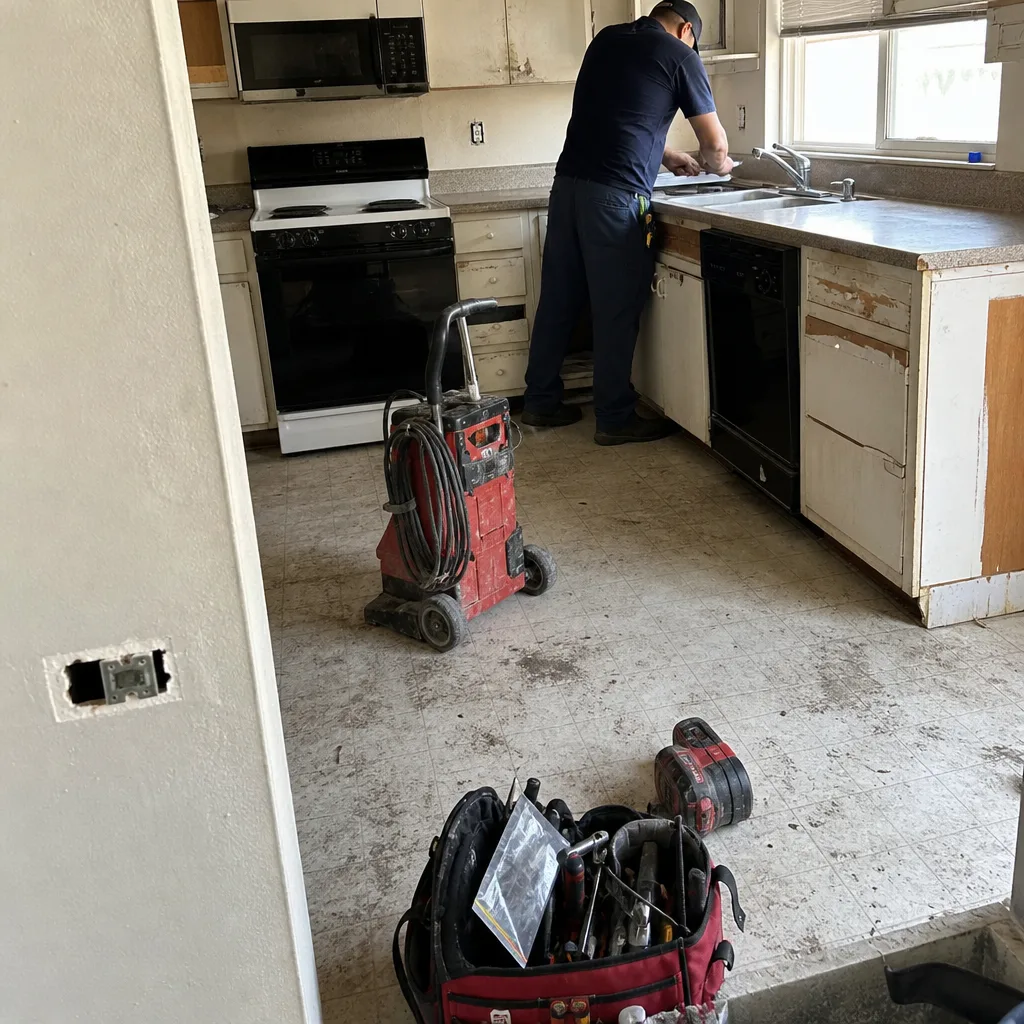 Before
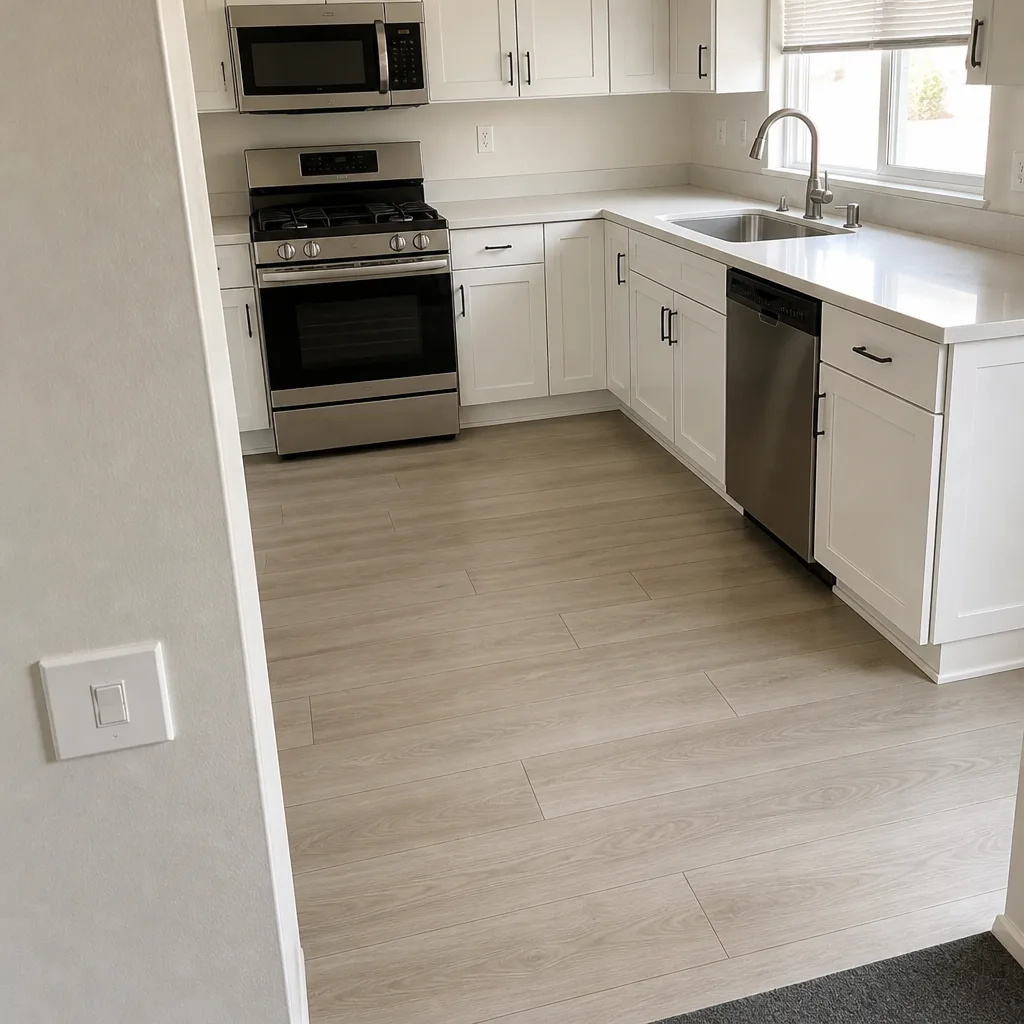 After
When to Call a Professional
Call a professional when the field test shows individual rocking pavers, when the edge is spreading, or when a section has dropped after a storm. Those are base and edge problems, and a surface patch won’t hold. Call if efflorescence comes back every season in the same pattern, since that points to a moisture source you can’t see. Call if you’re not sure whether your driveway is still under warranty, because re-pulling a section yourself can void it. And call if the driveway is more than a small patch away from flat, because the fix involves lifting pavers and rebuilding the base in the right order. If you’re planning a larger project alongside the driveway, such as a home additions & ADU build, address the hardscape first so the new structure isn’t surrounded by a failing driveway. Construction Summerlin offers free estimates in Summerlin. Call (844) 797-3059. We answer 24/7. Fast dispatch from 7am to 7pm, Sunday through Friday.
Frequently Asked Questions
Typical driveway paver repair in Summerlin runs from a few hundred dollars for re-sanding joints up to several thousand for pulling a settled section and correcting the base. A full rebuild with a new base sits in a much higher range. The written estimate after an on-site assessment sets the final number. Call (844) 797-3059 for an exact quote; estimates are free.
Efflorescence is the white bloom, and it happens when water moves through the paver and leaves salt behind as it evaporates. In Summerlin’s hard-water environment, irrigation overspray and poor drainage are common causes. Cleaning removes the visible bloom, but stopping it from returning means finding the moisture source and using a breathable sealer. Call (844) 797-3059 to schedule an assessment; estimates are free.
You can re-sand joints and pull weeds yourself, but sinking or rocking pavers need the base corrected, and that means lifting the field. Doing it without rebuilding the base usually means the dip comes back within a season, and re-pulling pavers can void a workmanship warranty. Call (844) 797-3059 to talk through the right approach; estimates are free.
Edge restraint has failed, most often because plastic spikes pulled out of desert soil as the pavers expanded in the heat. The fix is to reset the edge with steel spikes on proper spacing and re-pull the affected courses. Patching the gap with sand won’t hold. Call (844) 797-3059 for a repair estimate; estimates are free.
The written estimate is what sets the price. When a repair involves lifting pavers, the scope is confirmed after the section is opened and the base condition is visible; if the base turns out to be worse than the estimate assumed, we’d discuss the difference before any extra work rather than bill you for a surprise. Call (844) 797-3059 to schedule your free estimate.
Re-sanding joints is usually a one-day job. Re-setting an edge or pulling a small settled section typically takes one to three days, depending on the size of the area and how much base correction is needed. A full rebuild takes longer. Weather and monsoon timing can shift the schedule. Call (844) 797-3059 to get a timeline for your driveway; estimates are free.
The Bottom Line
Most driveway paver problems in Summerlin are base and edge problems wearing a paver costume. The five-minute field test tells you whether you’re looking at settlement, a base failure, or a real product defect. Efflorescence is a moisture signal, not a cleaning problem, and the sealer only works when the paver is dry. Edge restraint needs steel and proper spacing in desert heat, and monsoon sheet flow has to be graded away or the sub-base keeps washing out. Handle the joint sand and irrigation yourself. Leave the base, the edge, and the sealing to a contractor, and check the warranty before you lift a paver. Diagnose the cause first, and you won’t pay twice for the same fix.
If you want a professional read on your driveway, Construction Summerlin offers free estimates. Call (844) 797-3059. We answer 24/7. Fast dispatch from 7am to 7pm, Sunday through Friday. Our technicians have up to 14 years of experience, and we work with the same vetted local professionals across every phase of a project, so a driveway repair and the renovation that follows it come under one contract.
Written by the team at Construction Summerlin.